

How to Make the Perfect Passover Potato Pie
Introduction: Can You Really Turn Potatoes Into a Pie?
Have you ever wondered how humble potatoes could transform into a dish that’s hearty, comforting, and perfect for Passover? What if I told you there’s a recipe so simple yet so delicious that it could become the star of your Seder table? Enter the passover potato pie —a gluten-free, kosher-friendly dish that’s as versatile as it is satisfying. Whether you’re looking for a side dish or a main course, this recipe has got you covered. Ready to learn how to make it? Let’s dive in!
Overview: Why This Passover Potato Pie Recipe Stands Out
What makes this passover potato pie special is its simplicity and adaptability. It’s creamy, savory, and packed with flavor, making it an ideal dish for any Passover meal. The recipe takes about 1 hour and 30 minutes from start to finish, including prep and baking time. While it might sound fancy, it’s actually beginner-friendly and requires no advanced techniques or equipment. Plus, you can customize it to suit your taste buds—whether you want it vegetarian, meaty, or dairy-free.
Difficulty level: Easy
Time commitment: 1 hour 30 minutes
Skill required: Basic mixing and measuring
Essential Ingredients: What You’ll Need and Why
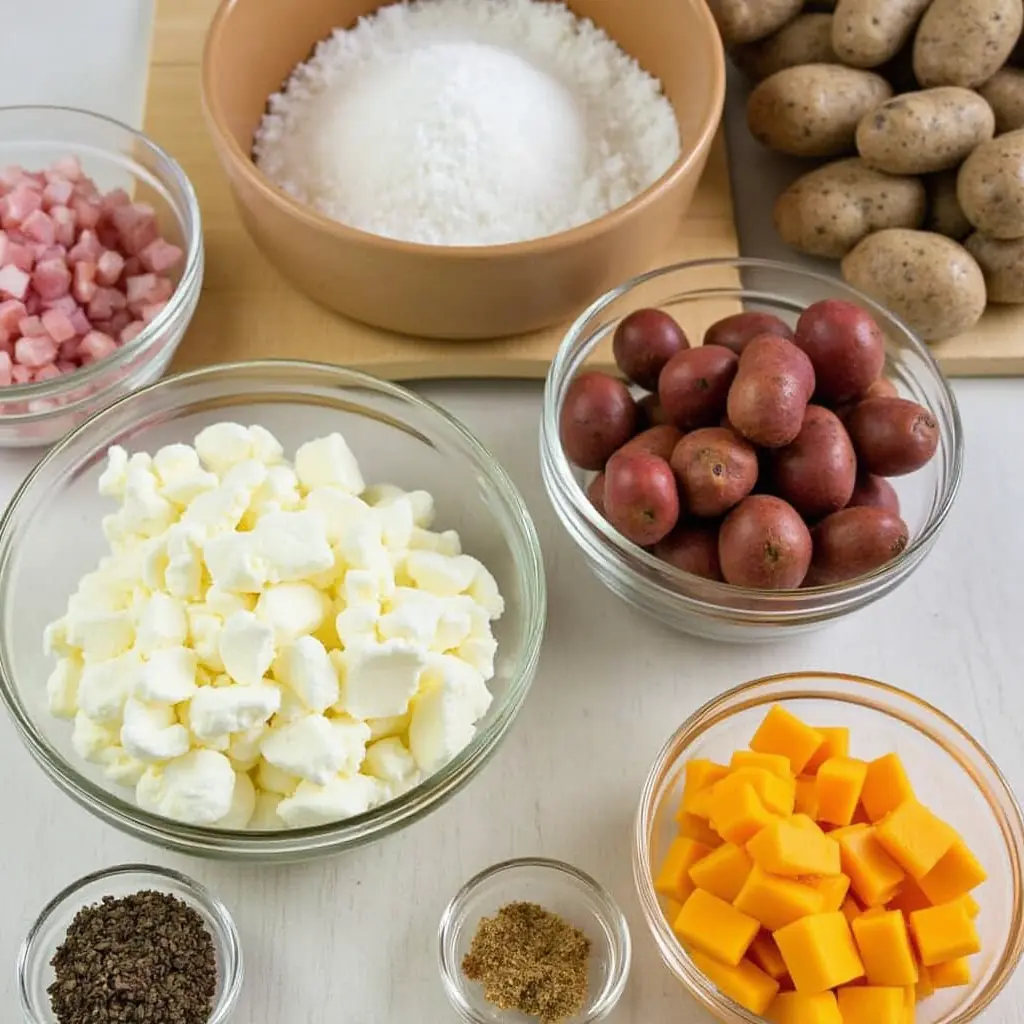
To create this masterpiece, you’ll need a handful of pantry staples and some key ingredients that bring out the best flavors. Here’s what goes into your passover potato pie :
- Potatoes (6 medium-sized): The star ingredient! Boil and mash them for a creamy base. Use russet or Yukon gold potatoes for the best texture.
- Eggs (2 large): Bind the mixture together while adding structure.
- Salt (½ teaspoon): Enhances the natural flavors of the dish.
- Olive oil or chicken fat (3 tablespoons): This adds richness and helps crisp up the top layer.
- Onions (1 medium, finely chopped): Provides sweetness and depth of flavor.
- Optional protein: For a heartier dish, add chopped meat (beef or lamb) or hard-boiled eggs.
Substitutions & Variations :
- Vegetarian option: Skip the meat and add sautéed mushrooms or spinach for extra flavor.
- Dairy-free version: Use olive oil instead of butter or margarine.
- Sweet twist: Swap regular potatoes for sweet potatoes for a unique take on the classic.
Step-by-Step Instructions: Let’s Get Cooking!
Follow these easy steps to whip up your passover potato pie . Don’t worry—it’s simpler than it sounds!
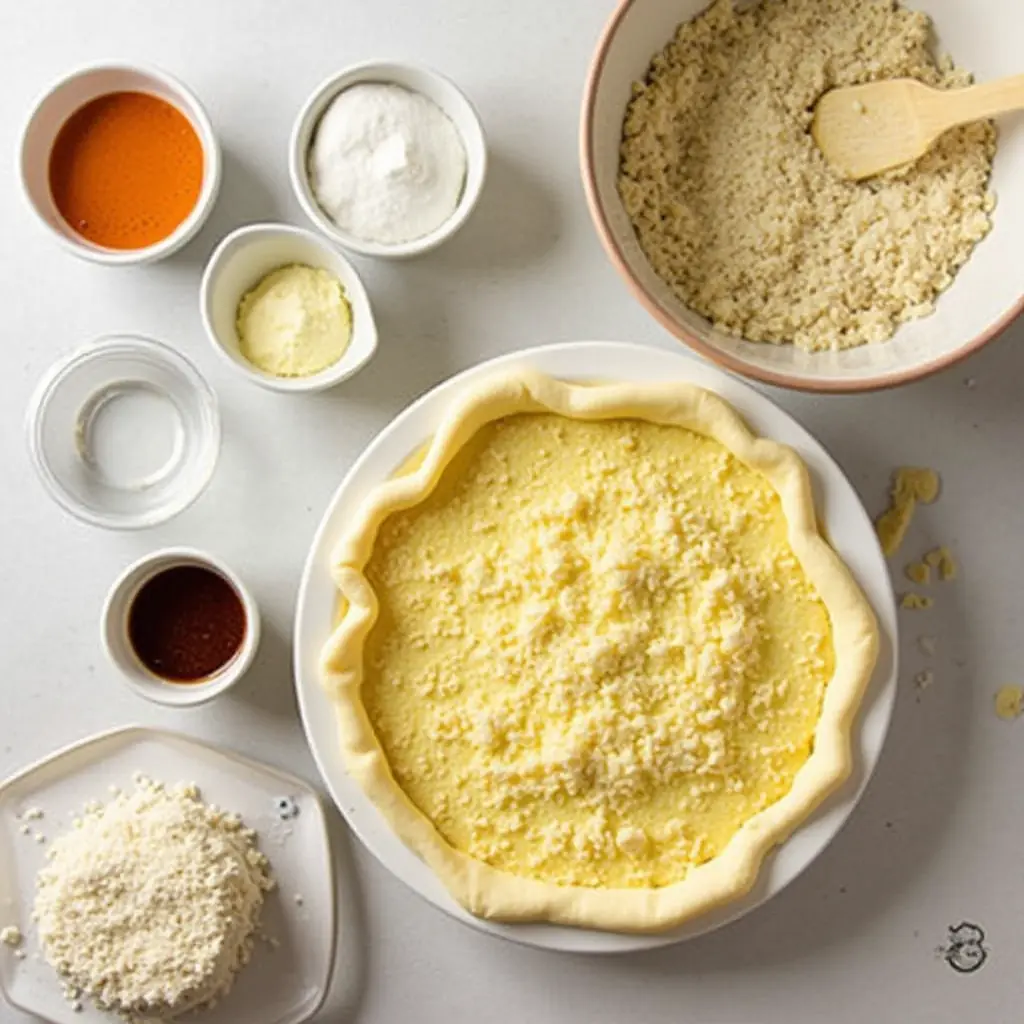
- Prep Your Ingredients: Peel and boil the potatoes until they’re soft enough to mash easily. Drain and set aside.
- Prepare the Base: Mash the boiled potatoes thoroughly. Mix in beaten eggs, salt, and olive oil or chicken fat. Stir until smooth and well combined.
- Sauté the Onions: Heat a bit of oil in a frying pan and cook the onions until golden brown. If using meat, brown it alongside the onions for added flavor.
- Combine Everything: Fold the sautéed onions (and meat, if using) into the mashed potato mixture. Adjust seasoning to taste.
- Grease the Pan: Lightly grease a baking dish with olive oil or chicken fat to prevent the food from sticking.
- Assemble the Pie: Spread the potato mixture evenly into the greased pan. Smooth the surface with a spatula for a neat finish.
- Bake to Perfection: Preheat your oven to 375°F (190°C). Bake the pie for 45–50 minutes or until the top is golden and slightly crispy.
- Cool Before Serving: Allow the pie to rest for 10 minutes before slicing. This helps it hold its shape when served.
Assembly: Building the Perfect Pie
While this passover potato pie doesn’t require elaborate assembly, presentation matters! Here are some tips:
- Smooth the Top: After spreading the mixture into the pan, use a spatula to level it for a professional look.
- Add Garnishes: Sprinkle paprika or fresh herbs like parsley on top before baking for color and flair.
- Serve Warm: Slice thick pieces and serve warm with a dollop of sour cream or applesauce for a tangy contrast.
Storage and Make-Ahead Tips: Keep It Fresh
One of the joys of this passover potato pie is how well it stores. Here’s how to keep it fresh:
- Room Temperature: Store leftovers in an airtight container for up to 2 days.
- Refrigerator: Extend shelf life by refrigerating for up to 5 days. Reheat slices in the microwave for 30–40 seconds.
- Freezer-Friendly: Wrap individual portions in plastic wrap, place them in a freezer bag, and freeze for up to 3 months. Thaw it overnight in the fridge or reheat it directly from frozen.
Pro tip: To refresh stale pie, lightly toast slices in the oven at 350°F (175°C) for 5–10 minutes.
Recipe Variations: Get Creative!
Don’t stop here—experiment with these fun twists on your passover potato pie :
- Cheesy Delight: Mix shredded cheese (like cheddar or Parmesan) into the potato mixture for a gooey center.
- Herb Infusion: Add chopped rosemary, thyme, or dill for a fragrant touch.
- Spiced Version: Sprinkle cumin, turmeric, or smoked paprika for a bold kick.
- Sweet Potato Option: Replace regular potatoes with sweet potatoes for a naturally sweet and vibrant pie.
Conclusion: Bake, Share, Enjoy!
Congratulations—you’ve mastered the art of making a passover potato pie! With its rich flavor, creamy texture, and endless customization possibilities, this dish is sure to become a family favorite. So grab your apron, gather your ingredients, and let your creativity shine. Remember, cooking isn’t just about following rules; it’s about having fun and sharing joy. Now go ahead, slice that pie, and savor every bite!
FAQs: Your Burning Questions Answered
Here are answers to common questions about this passover potato pie :
Q: Is passover potato pie healthy?
A: Yes! Potatoes are a great source of energy and fiber. For a healthier twist, use olive oil and load up on veggies like spinach or mushrooms.
Q: Can I make this recipe vegan?
A: Absolutely! Replace eggs with flax eggs (1 tbsp ground flaxseed + 3 tbsp water per egg).
Q: How long does it take to prepare?
A: Prep time is around 20 minutes, with baking taking 45–50 minutes. Total time: ~1 hour 30 minutes 1.
Q: Can I freeze passover potato pie?
A: Yes! Freeze slices individually for up to 3 months. Simply thaw at room temperature or reheat as needed.
Q: What’s the secret to a crispy top?
A: Brush the surface with olive oil before baking and broil for the last 2–3 minutes for extra crispiness


